How to “Wow” with Gift Baskets
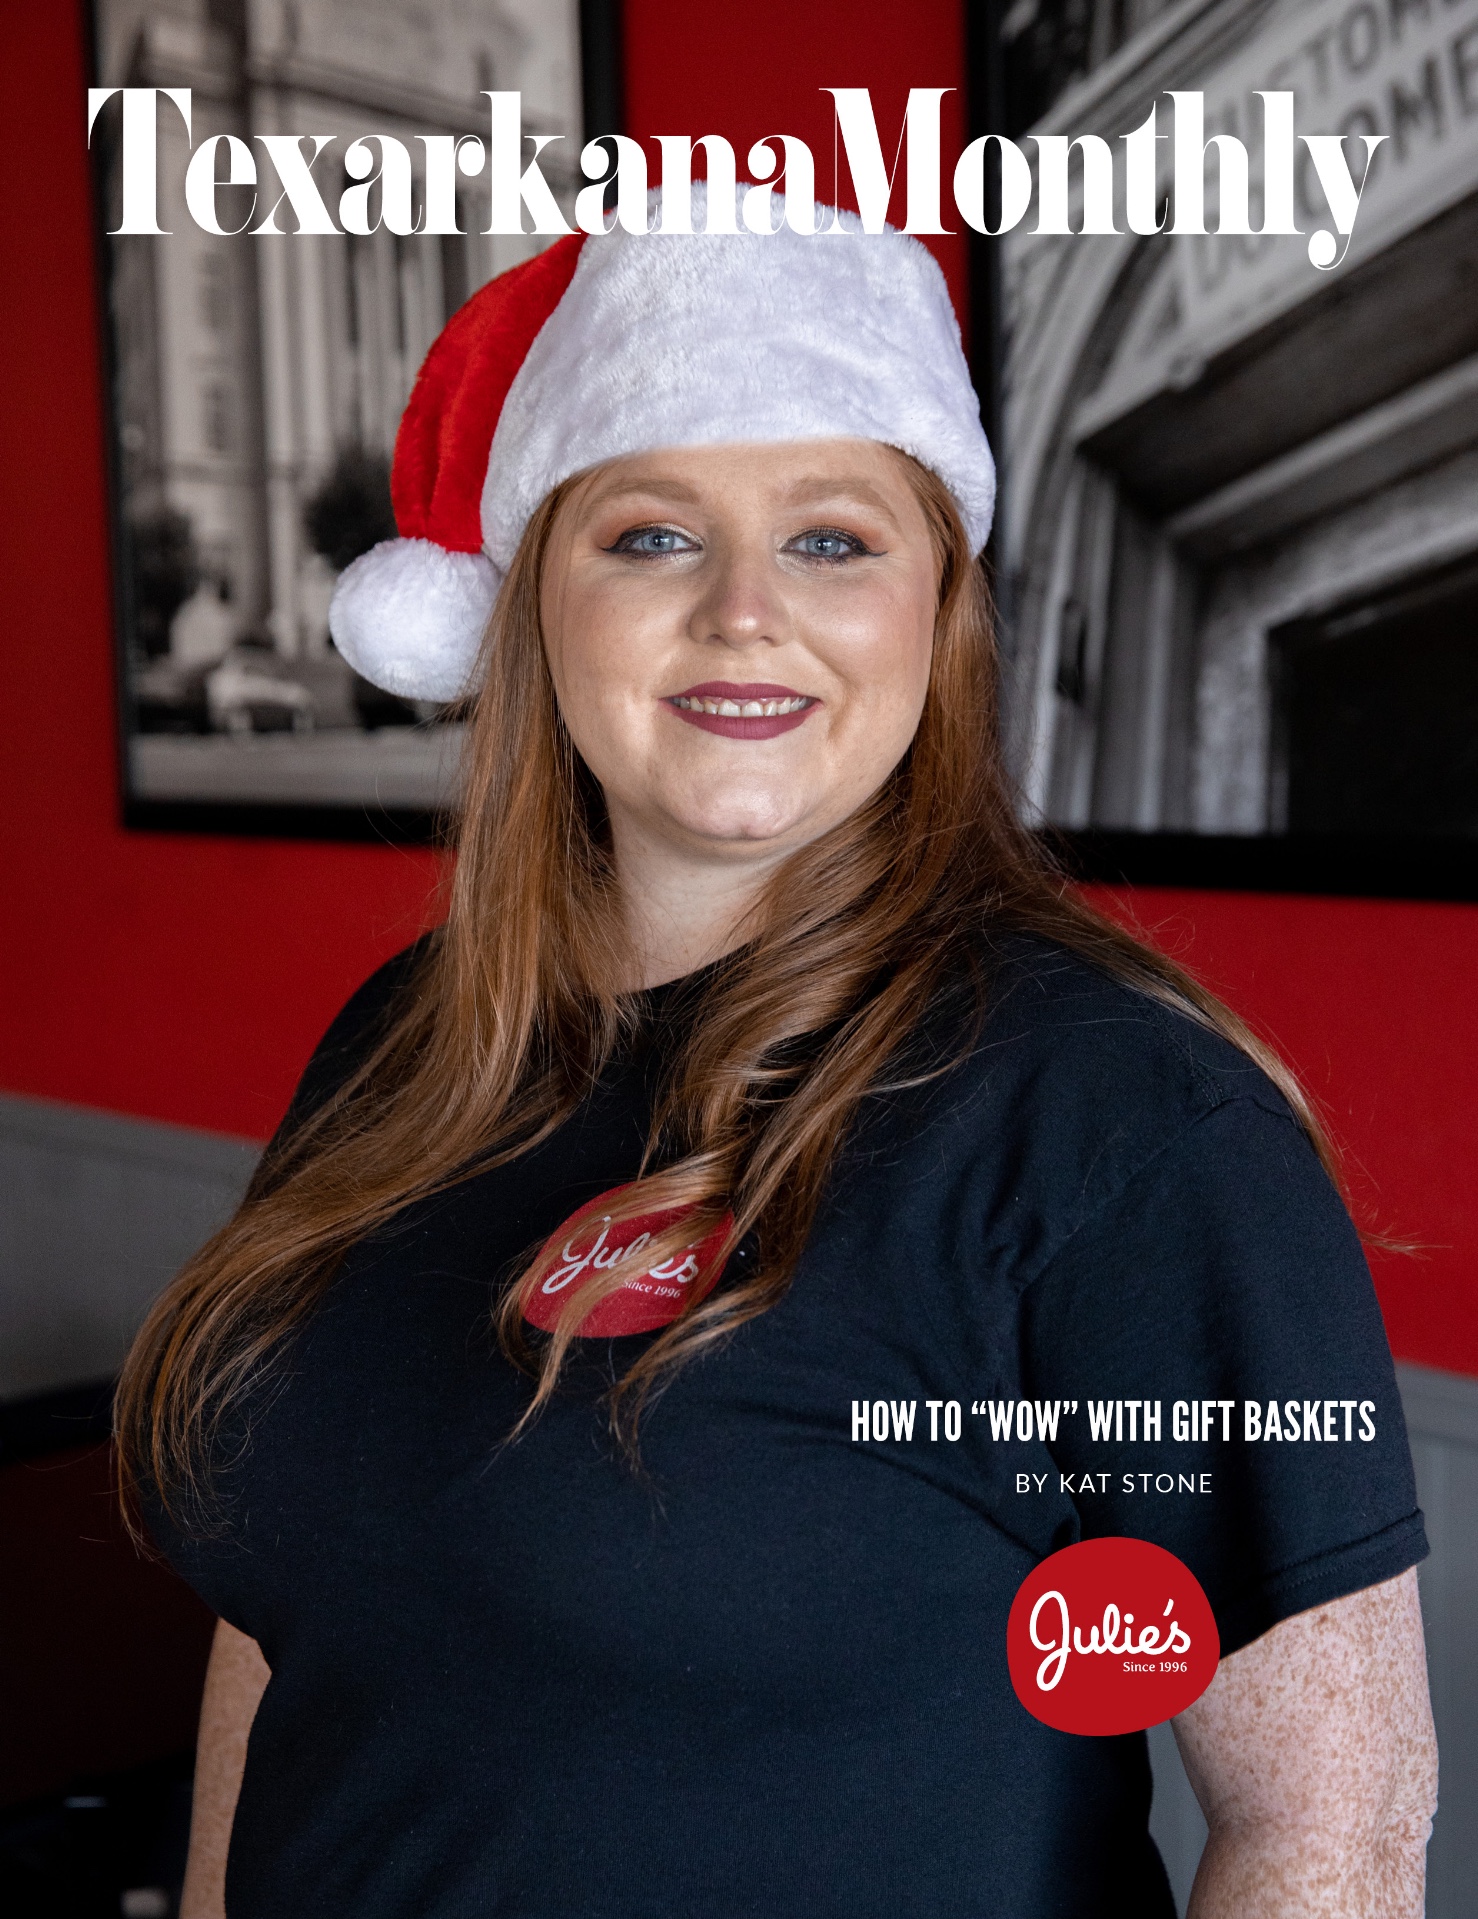
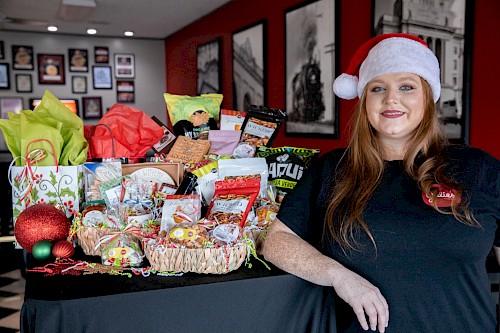
What if you could give everyone on your shopping list a personalized gift? There is something special about giving a thoughtful, personalized gift during the holidays. Friends and family will love personalized gift baskets that are tailored specifically for them. Kat Stone, with Julie's Deli & Market, tells us how to make the perfect gift basket for anyone on your nice list.
Julie's is the perfect place because their well-stocked gourmet market is packed with delicious items for everyone. While you are enjoying a fabulous lunch, you can have a custom gift basket made, or you can browse the market and stock up with weekend groceries, or simply have some delicious treats on hand for drop-in guests. You never have to worry about freshness. Julie's always uses the best local and regional products.
START BY CHOOSING DELICIOUS AND FUN BASKET ITEMS.
Pick a theme and roll with it! Sweet, yes. Savory, yes. Combo—sure, that can work, too. But keep in mind you may not want to put a salami and a pound cake together. Think more in terms of chocolate covered nuts, mints or caramels as a sweet addition to a savory themed basket. You’ll also want to vary the color, height, textures of the different interesting items you are gifting. Usually odd numbers make the best visual (5 for a small basket / 7-9 for a medium basket / 13+ for a large basket).
BASKETS AND TRAYS
You can build a gift “basket” in just about anything if it's sturdy and fits your theme. Decorative crates or boxes for shipping, flat bottomed baskets for heavy items, high-sided baskets for light-weight items, even chargers can work as a great base for your gift.
FILLERS
Kat's choice for baskets is crinkle paper because of how flexible it is for a variety of uses. You can use newsprint, packing peanuts, tissue paper—really anything moldable and pretty.
BUILDING YOUR BASKET
Start with the “backdrop” items—bags of colorful chips, tubes of macaroons, sleeves of interesting crackers all can be used as the tall items in your gift.
The middle section of the baskets is the perfect place for fragile or primary items. This is always the central focus of the basket so make sure items are prominently displayed. Use glue dots to anchor very fragile items or to prevent slipping of multiple items with flat surfaces.
Fill in the sides of your baskets with low profile items that can be sprinkled or clustered like nuts or candies.
Make sure you have plenty of tissue paper or crinkle paper to fill in the gaps and to lift the items so that you have plenty of visual interest in varying height.
WRAP IT UP
Kat prefers to use cello wrap all of Julie's baskets because, they travel a lot better. I use about six feet for a medium sized basket. A good rule of thumb is to use about four times the width of our basket in wrapping. Place the basket on your cut cello or wrapping paper, lift the front and back together at the top, then gather the sides to the top (like a ponytail) and secure with a small gold twist tie. Simply cut the excess with scissors to leave about a six inch topper.
You’ll need about a yard of ribbon per bow. I like a wide, wired ribbon for baskets—they are the easiest and prettiest on a gift basket. Nothing is prettier than a big red bow, right?
Tie the ribbon at the twist tie, in a traditional bow (just like tying your shoes) and trim the tails at an angle. The finishing touch is super simple—adjust the bow, add a tag and you are done! Merry Christmas! ![]()